

Borescope Probe Diameter Guide: 3.9mm vs 6.2mm vs 8.5mm
Of every spec on a borescope listing, borescope probe diameter is the one that can make the tool useless. Resolution can disappoint you. A short cable can frustrate you. But a probe that is a millimeter too fat simply will not go in — and no feature elsewhere on the spec sheet rescues that.
Three sizes cover the overwhelming majority of inspection work: 3.9mm, 6.2mm, and 8.5mm. They are not three points on a quality scale where bigger is better or smaller is more advanced. They are three different compromises between where you can go and what you can see once you get there. This guide explains what each one actually buys you.
The Trade-Off in One Sentence
Everything inside a borescope probe — the image sensor, the lens, the LEDs, the signal wiring, and (on articulating models) the steering cables — has to fit inside that diameter. Shrink the tube and every one of those components shrinks with it.
So as diameter goes down:
- Access improves. Smaller ports open up.
- Sensor area shrinks. Less light gathered, more noise, less detail.
- Illumination weakens. Fewer and smaller LEDs at the tip.
- Fragility increases. Thinner cable, tighter minimum bend radius, easier to kink.
- Articulation gets harder. Steering mechanisms need room; the thinnest probes are usually fixed-tip.
That is the whole story. The rest is applying it to your job.
Borescope Probe Diameter at a Glance
| 3.9mm | 6.2mm | 8.5mm | |
|---|---|---|---|
| Best for | Very tight ports: glow plug holes, injector bores, small drilled inspection holes, dense electronics and assemblies | General purpose: spark plug holes, engine bays, gearboxes, HVAC line sets, appliances, wall cavities | Larger openings: pipes, drains, ducts, tanks, weld and casting inspection, chimneys |
| Image quality | Adequate for "is it there / is it broken" checks | Good — the practical sweet spot | Best in class — largest optics and brightest light |
| Illumination | Weakest; struggles in large open cavities | Sufficient for most confined spaces | Strong; can light up a wide duct or tank |
| Durability | Most delicate; the tip junction is the weak point | Robust for daily shop use | Most robust cable |
| Articulation availability | Rare — usually fixed tip | Common — two-way and four-way both exist | Common |
 3.9mm: When Access Beats Everything
A 3.9mm probe exists for one reason: to get into places nothing else fits. Diesel glow plug holes, fuel injector bores, small drilled ports, tight mechanical assemblies, packed electronics enclosures.
Be realistic about what you get in return. The sensor is tiny and the LEDs are tiny, which means:
- It performs well in confined spaces, where the walls are close to the tip and the LEDs can actually light them.
- It performs poorly in open spaces — point a 3.9mm probe into a large cavity and most of the frame goes black.
- It is best suited to presence and absence questions: is the fastener seated, is there debris, is the component intact. Judging a fine hairline crack or subtle surface texture is asking a lot of it.
It is also the most fragile of the three. A thin cable has a tight minimum bend radius, and forcing it past that is how the tip junction fails. If you are buying a 3.9mm scope, buy it because you need 3.9mm — not as an all-rounder.
6.2mm: The Default Choice
If you are not sure which size you need, this is almost certainly it. The 6.2mm class lands where the most work is, and it is the size most buyers should default to:
- Automotive cylinder inspection. It passes through the spark plug holes on most gasoline engines with room for the angle of approach. (Modern plug threads are commonly M14, M12, or M10 — the smaller the plug, the tighter the clearance, so measure before assuming.)
- Engine bays, gearboxes, and pumps. Enough reach and enough light.
- HVAC line sets, appliances, wall cavities. Slim enough to enter a modest drilled hole, but bright enough to be useful once inside.
The step up from 3.9mm to 6.2mm is where image quality stops being a compromise. The extra 2.3mm of tube is a meaningfully larger sensor and noticeably more light — the difference between an image you squint at and an image you can actually judge.
This class also has the widest feature availability. Articulating tips, side-view mirrors, magnet and hook attachments, waterproof probes — the ecosystem here is the most complete. If you want a scope that steers, this is the practical entry point.
The one thing to check: a 6.2mm probe will not reliably enter a 7mm hole. Bend radius and approach angle eat the margin. Treat the diameter as a minimum, not a target.
8.5mm: Buy It for Image Quality, Not Reach
Once you are at 8.5mm, the physics finally stops fighting you. There is room for a larger sensor, a better lens, and enough LEDs to light a real space. If your inspection target is a weld, a casting, a machined surface, or corrosion pitting — anything where you are judging condition rather than presence — this is where the image genuinely gets good.
It is also the natural pairing for long working lengths. Drain lines, ducts, chimneys, and tanks want a probe bright enough to reach across a wide cavity and a cable robust enough to be pushed several meters without buckling.
What you give up is obvious: it will not fit a small port. An 8.5mm probe is not going through a spark plug hole, and it is unwieldy inside a tight engine bay. It is the wrong tool for micro-access, full stop.
How to Pick Your Diameter in Three Steps
- Measure your tightest access point. Not the biggest, the tightest — the one that has to work every time. Use calipers or a drill bit as a gauge.
- Subtract margin. A probe needs clearance for the cable's bend radius and for the angle at which it enters. If your hole is 8.5mm, do not buy 8.5mm. Go a size down.
- Then ask what you need to see. If you only cleared 3.9mm, the decision is made. If you cleared 6.2mm or more, choose the largest size that still fits — because every millimeter of extra diameter is more light and more detail.
A Common Mistake Worth Naming
Buyers often reach for the smallest probe available, reasoning that it will fit anywhere and therefore covers all cases. In practice this backfires. The thinnest scope is the dimmest, the softest-imaged, and the easiest to break — and most owners discover they only actually needed the small diameter for one job out of twenty, while fighting a compromised image on the other nineteen.
Buy for the access you have, not the access you might theoretically encounter someday.
Where to Go From Here
Diameter is the first constraint, but it is not the only one. Working length, resolution, articulation, and lighting all interact — our guide to how to choose a borescope covers the full decision, and types of borescopes explained breaks down flexible, rigid, and video designs. If you want the models laid out against each other, see the borescope comparison and the borescope buying guide.
When you know your number, browse by application: automotive borescope cameras for cylinder and engine bay work, or industrial borescope cameras for welds, pipes, and plant maintenance. Ralcam builds these in our own factory in Shenzhen — if you are unsure whether a probe will clear your access port, send us the measurement and we will tell you straight.
Looking for the right borescope?
Browse the full Ralcam range — industrial and automotive inspection cameras for every job.
Shop all borescopes →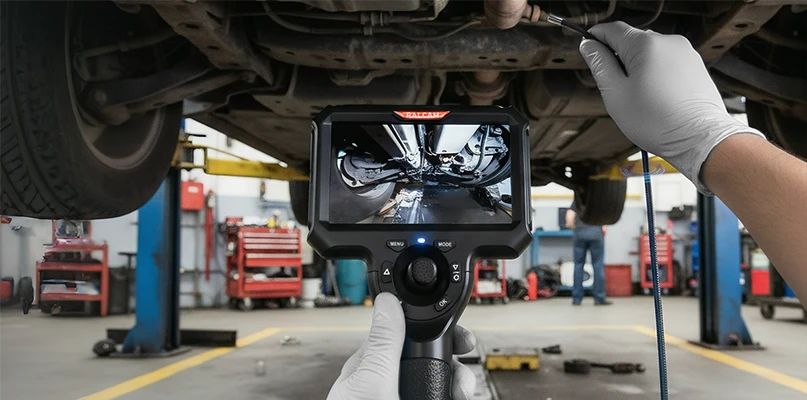
Leave a comment