

How to Read Borescope Images: Scoring, Carbon Buildup, Cracks, and Corrosion
Getting a borescope into a cylinder is the easy part. The harder skill — the one that actually determines whether the inspection was worth doing — is knowing what you are looking at once the image is on screen. A cylinder wall covered in dark residue can mean three completely different things depending on the pattern, and telling them apart is what separates a useful inspection from a five-minute glance. This guide covers how to read borescope images: recognizing scoring, carbon buildup, cracks, and corrosion, and knowing what each one means for next steps.
Note: identifying a defect from an image is the first step, not the last. Treat everything below as a guide to what to look for and where to look closer — confirm any serious finding with direct measurement or a qualified technician before acting on it.
Before You Judge the Image, Control the Conditions
A surface can look damaged simply because it was lit or focused badly. Before drawing any conclusion:
- Get the surface in focus. Borescope optics have a limited depth of field — a surface just outside that range will look soft or blurry regardless of its actual condition. Move the tip until the surface is crisp before judging texture.
- Check the lighting angle. Light hitting a surface straight-on flattens texture and can hide shallow marks. Light at a grazing angle exaggerates every scratch and makes minor texture look dramatic. If something looks alarming, try viewing it from a slightly different angle before concluding it is serious.
- Watch for reflections and glare. Oily or wet surfaces reflect the LED directly back at the lens, which can wash out detail or create a bright spot that looks like a defect. Wipe the area if you can, or shift the angle to move the glare off the feature you're examining.
Cylinder Wall Scoring
Scoring refers to scratches or grooves cut into the cylinder wall, usually running roughly parallel to the direction of piston travel (vertically, as you'd view it through the spark plug hole).
What it typically looks like: thin, linear marks with a consistent direction, often several running close together. Light scoring can look almost like fine hairlines; more severe scoring is visibly gouged and may catch light differently than the surrounding wall as you rotate the probe.
What causes it: commonly, hard particles (dirt, metal debris, carbon fragments) getting between the piston rings and the wall, or a lubrication failure that lets metal contact metal.
What to do: light, shallow scoring on an otherwise healthy engine is sometimes cosmetic and within normal wear. Deep or extensive scoring, or scoring accompanied by other symptoms (oil consumption, compression loss), generally warrants a closer look from a qualified mechanic — a borescope tells you scoring is present, not how it will affect the engine going forward.
Carbon Buildup
Carbon deposits are extremely common and, in normal amounts, not a defect at all — they are a byproduct of combustion.
What it typically looks like: a dark, matte, slightly textured coating, often black to dark brown. It tends to concentrate on the piston crown, around the valves, and in the upper cylinder area rather than being evenly spread. Unlike scoring, carbon buildup has no consistent linear direction — it looks like a coating, not a scratch.
What causes it: incomplete combustion is normal to some degree in every engine; certain fuels, short trip cycles, and worn components can increase the amount.
What to do: a light, even coating is typical and not usually a concern on its own. Thick, heavy buildup — especially if it is affecting valve seating or visibly restricting an opening — is worth flagging, but carbon on its own is one of the least urgent findings on this list.
Cracks
Cracks are the finding that most warrants a careful, unhurried look, because they are also the easiest to miss.
What it typically looks like: a thin, irregular line that, unlike scoring, does not follow a consistent parallel direction — it often branches, curves, or changes direction abruptly. A crack may only become visible from certain lighting angles, which is why angle-checking matters so much here specifically. On a reflective surface, a genuine crack often shows as a break in the reflection pattern rather than a clearly visible dark line.
What causes it: thermal stress, fatigue, casting defects, or impact damage, depending on the component.
What to do: if you suspect a crack, change the lighting angle and re-examine before concluding anything — both to confirm it's real and to rule out a false read from glare or a hairline oil trail. Any suspected crack in a load-bearing or pressure-containing component should be verified by a qualified technician before the equipment is returned to service. This is not a call to make from a single borescope frame.
Corrosion and Pitting
Corrosion shows up differently from the wear-based findings above because it changes the surface itself rather than just marking it.
What it typically looks like: small, irregular pits or a rough, matte texture where the surface should be smooth and reflective. Pitting is often scattered rather than following a pattern, and heavier corrosion can show discoloration — reddish-brown on ferrous metal, a dull or chalky look on aluminum.
What causes it: moisture intrusion, coolant leaks, condensation during storage, or exposure to corrosive residue.
What to do: light surface pitting in a non-critical area may just call for monitoring. Corrosion in a sealing surface, a bearing surface, or anywhere it could compromise a fit is a more immediate concern and worth a closer inspection.
Quick Comparison
| Finding | Pattern | Direction | Urgency (general guide) |
|---|---|---|---|
| Scoring | Linear scratches/grooves | Parallel, consistent | Depends on depth and extent |
| Carbon buildup | Matte dark coating | No linear direction | Usually low unless heavy |
| Cracks | Thin, branching or curved line | Irregular | High — verify carefully |
| Corrosion/pitting | Scattered pits, rough texture | No consistent direction | Depends on location |
Getting a Better Look
A few habits improve every reading:
- Move slowly. Rushing the probe past a surface is the most common reason a real defect gets missed.
- Capture a photo or video of anything questionable, so you can review it later, zoom in, or share it with someone else rather than relying on memory.
- Compare against a known-good area of the same surface when you can — texture and color are easier to judge relative to a baseline than in isolation.
- An articulating tip lets you hold a steady angle on a specific spot rather than fighting to keep it in frame, which makes borderline findings much easier to confirm. See our comparison of articulating vs non-articulating borescopes.
Where to Go From Here
Reading the image well starts with getting a good image in the first place — our guide to inspecting engine cylinders covers the technique, and choosing a borescope for engine inspection covers the hardware side: lighting, articulation, and resolution all affect how much you can actually see.
Ralcam's automotive borescope cameras are built with adjustable, diffused lighting specifically to make findings like these easier to judge accurately. Have a frame you're unsure about? Our team can help you think through what you're looking at — though for anything safety-critical, a qualified technician should always confirm.
Inspecting engines without teardown?
Explore our automotive borescopes — articulating probes built for cylinders, turbos, and hard-to-reach engine components.
Shop automotive borescopes →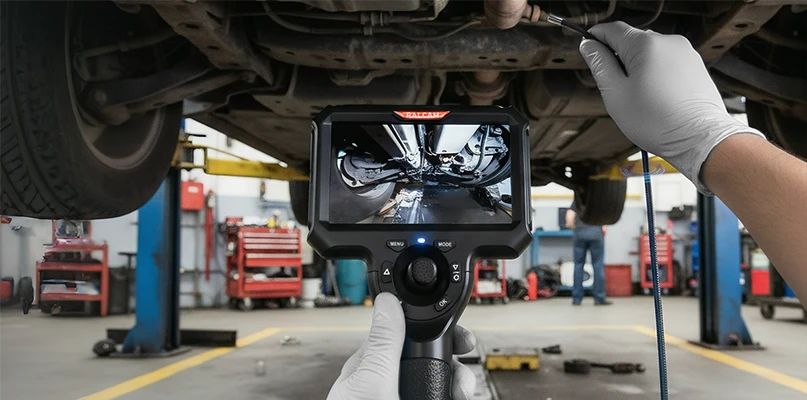
Leave a comment